Set up a school from scratch
Do this in order. Settings, then staff, then the year wizard. Classes and children come after that. Teachers cannot work until those pieces exist.
What you need first
- A school-admin login
- The school name and address. A head-teacher signature if reports will print one.
- At least one teacher email you can actually reach
- Start and end dates for the year, plus the term dates
If the year is already live and classes have teachers, skip this page. You are done. Come back only when you open the next year.
Steps
1. Save School Settings
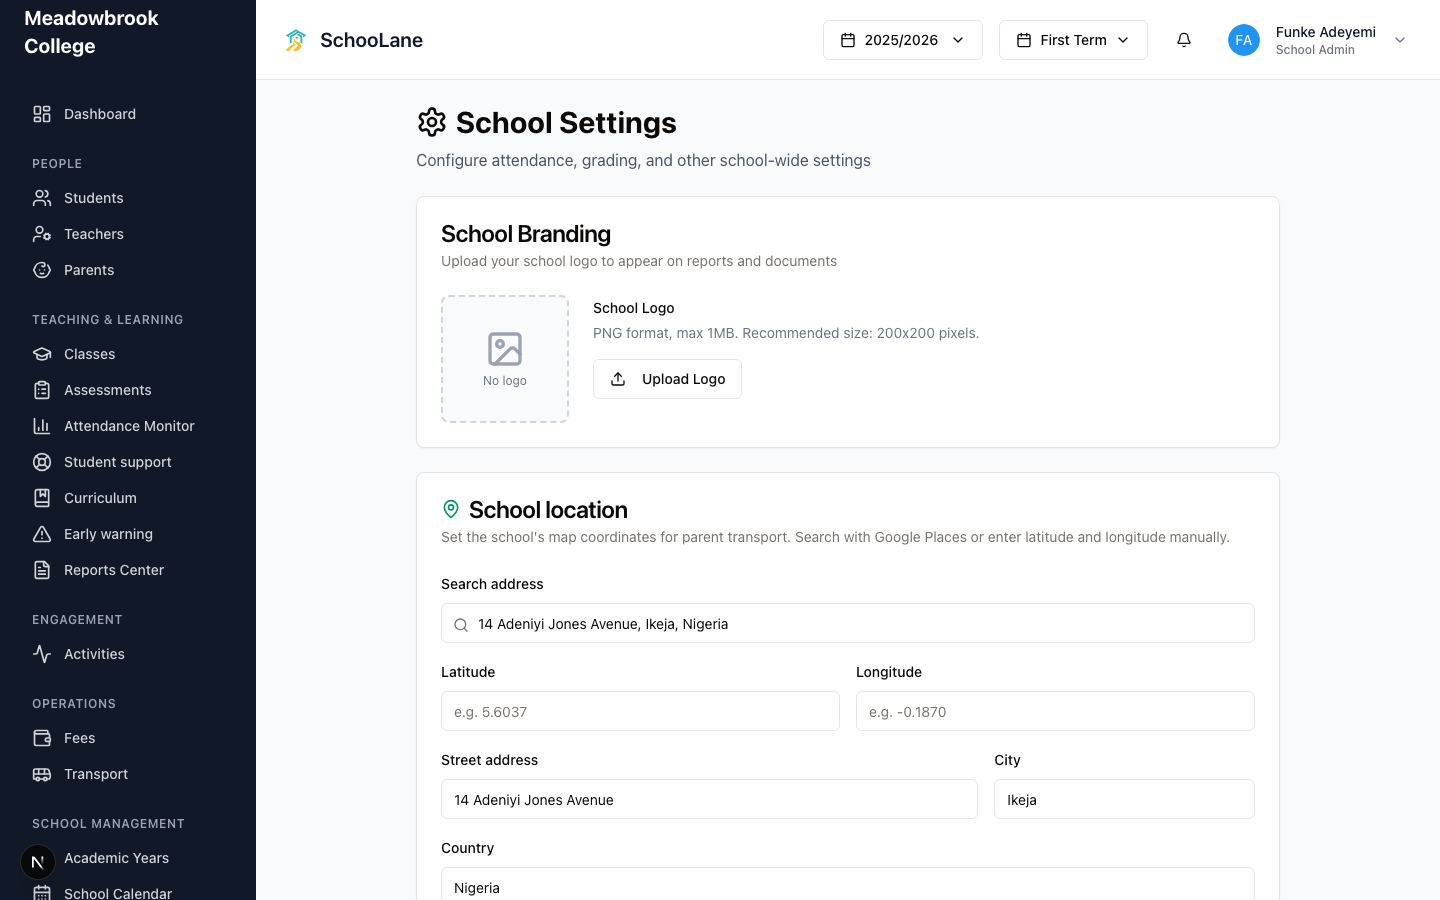
Open School management, then School Settings. Put in the late time and the attendance window. Add the logo. Add the signature. Reports pull the signature from here. So do student IDs, if you turn those on.
I would do this first even though it feels dull. Fixing a missing signature in week six is worse.
2. Add School Staff
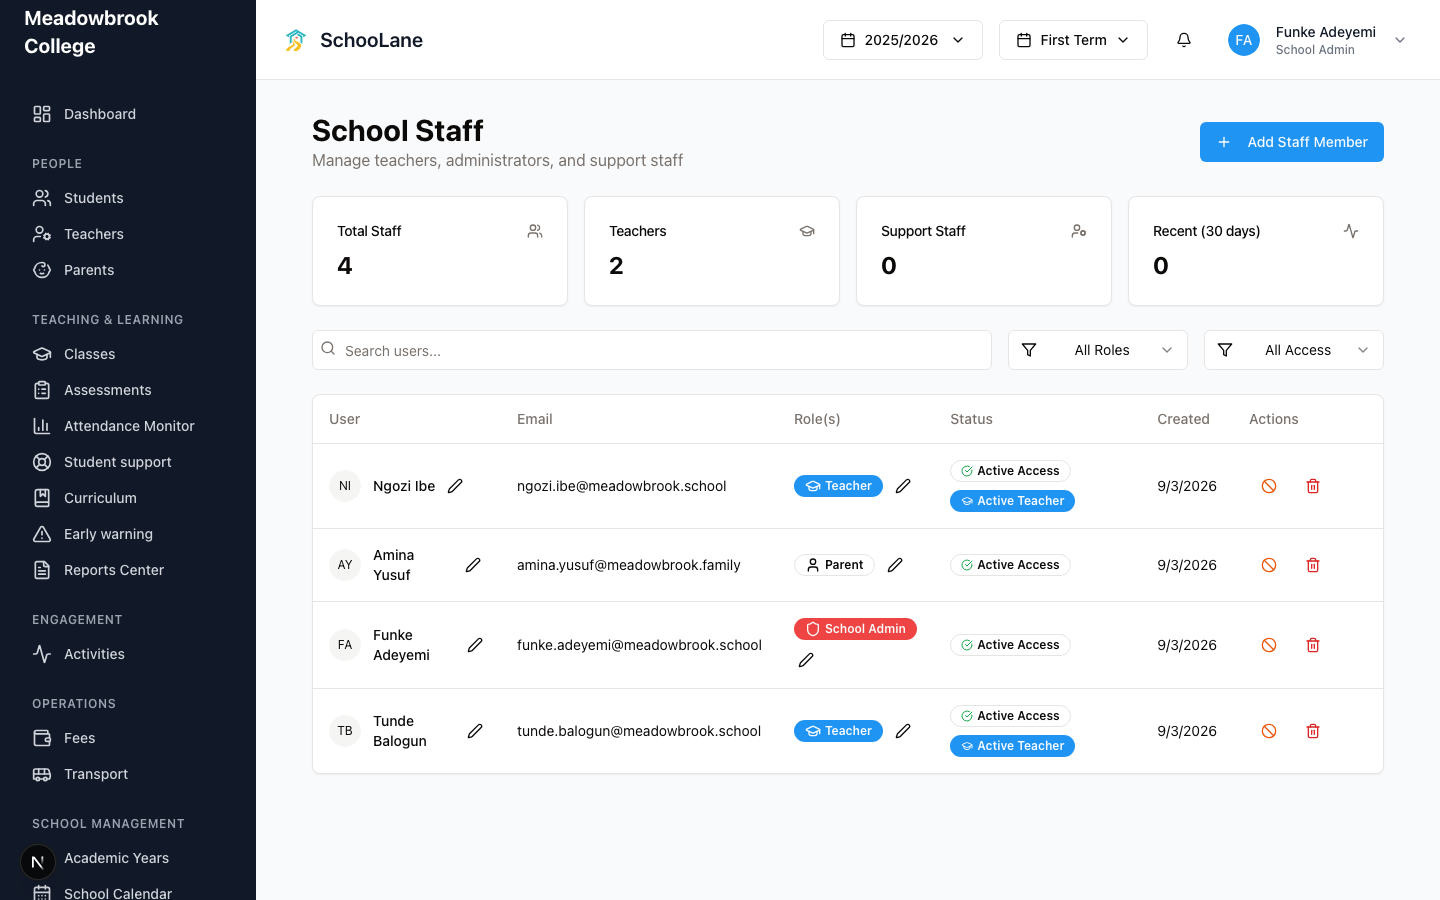
Open School Staff. Press Add Staff Member. Give each person a real email and a role: school admin, teacher, or both.
Skip extra campuses if you only have one campus. You do not need a second office login for a building you do not have.
You can add teachers later from Teachers with Add Teacher. I still start here, because this screen creates the login they will use tomorrow morning.
3. Run the academic year wizard
Open Academic Years. Press New academic year.
The wizard has four stops: Basic Information, Term Structure, Class Creation, then Review & Activate. Put the year name and dates on the first stop. Add terms on the second. You can create classes on the third stop, or leave that for later. Activate on the last stop when the dates look right.
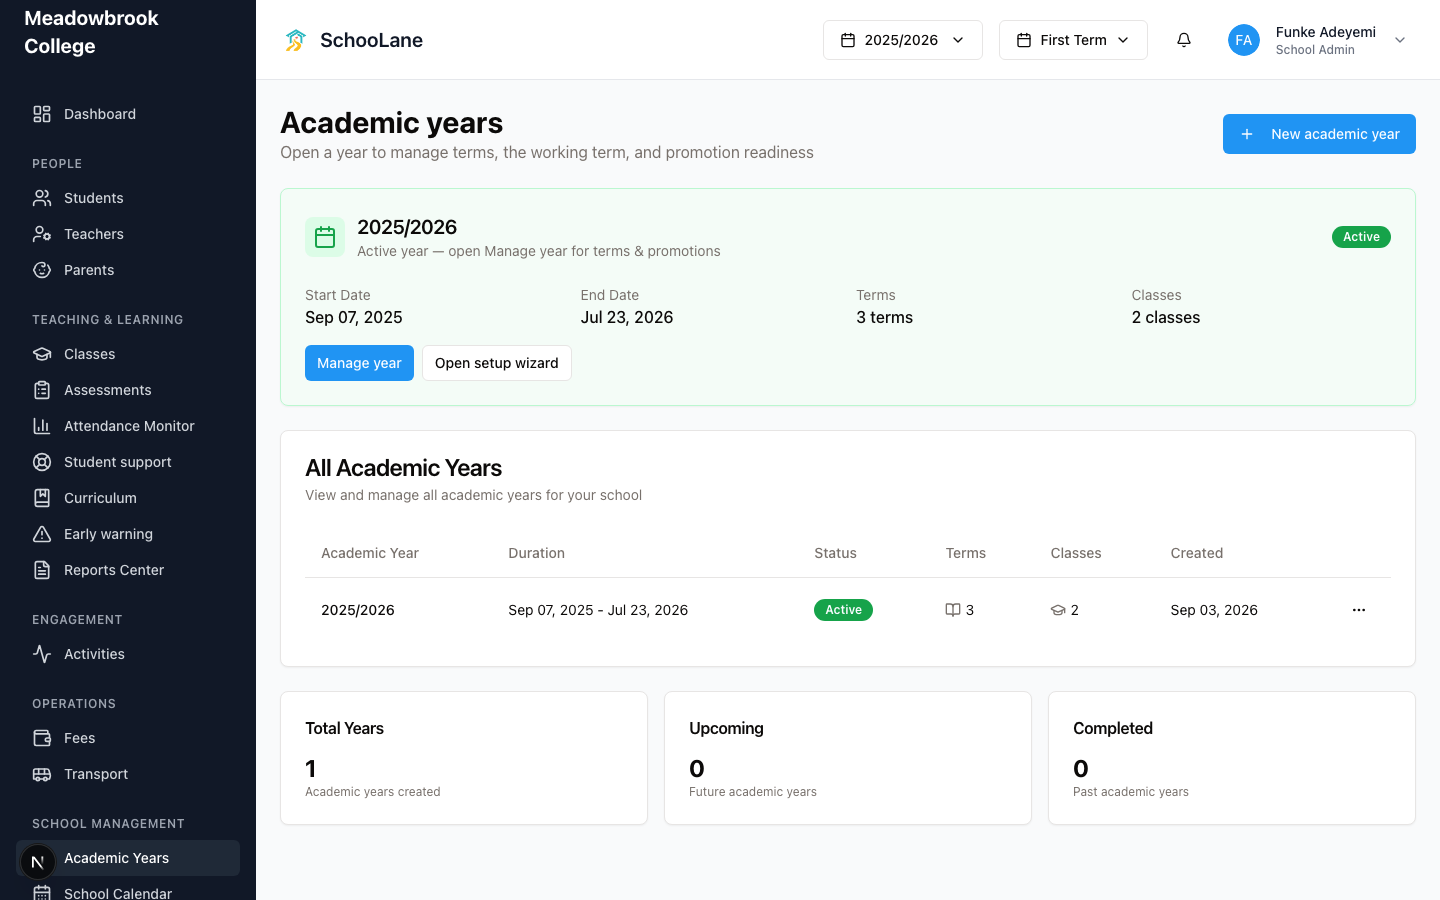

Do not enroll anyone before this year is Active. The rest of the school waits on that green badge.
4. Subjects, then classes
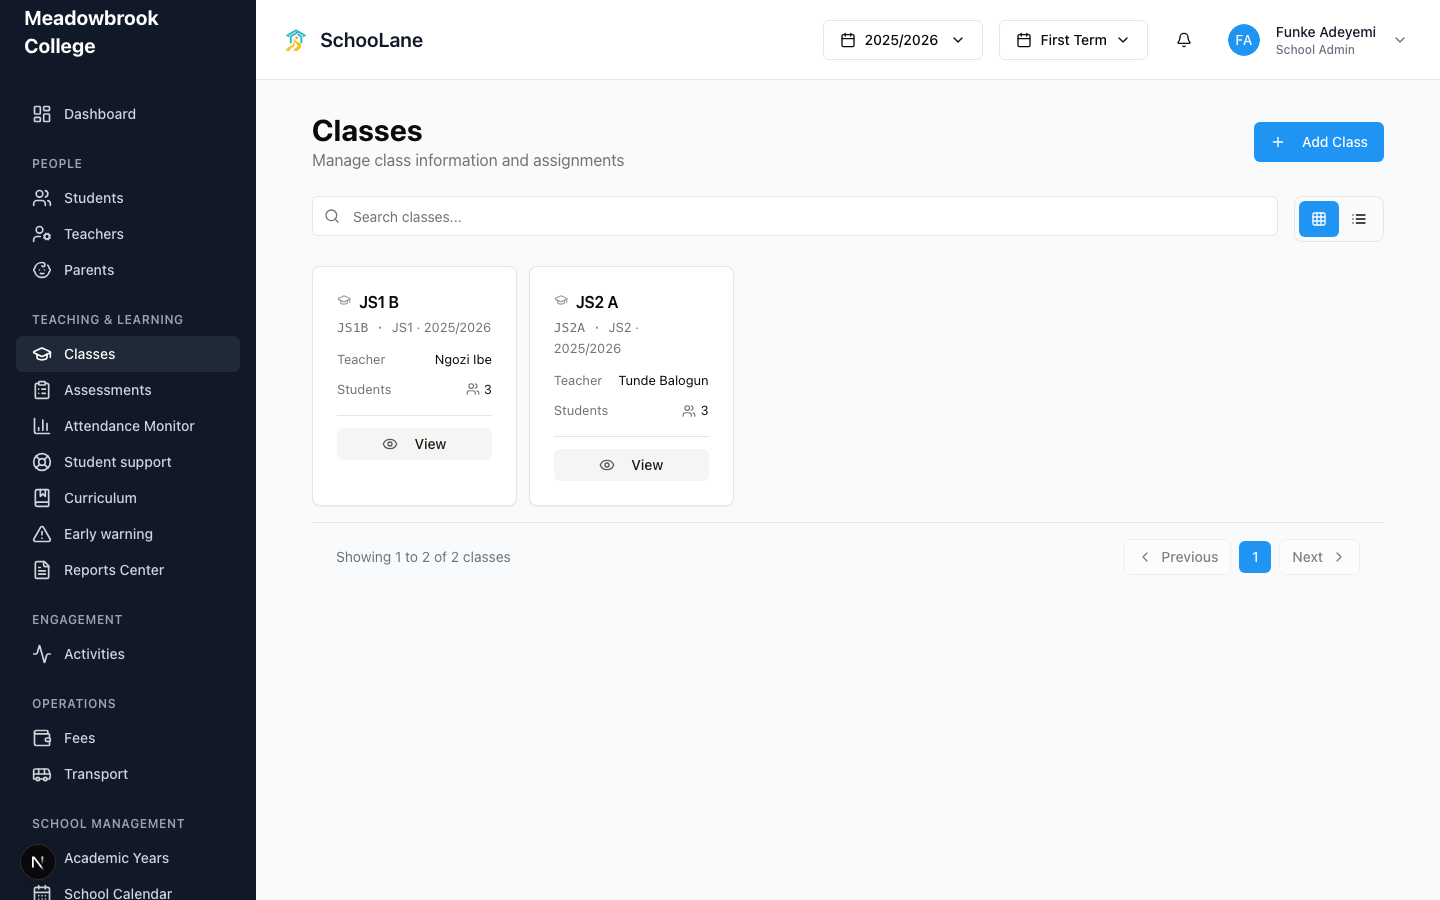
Check Subjects. Add the ones you teach. Then open Classes and press Add Class.
Each class needs a name and a class code. It also needs a grade level and a class teacher. The code matters. Bulk import matches students on that code. I have seen a whole CSV bounce because nobody filled it in.
5. Students, then parents
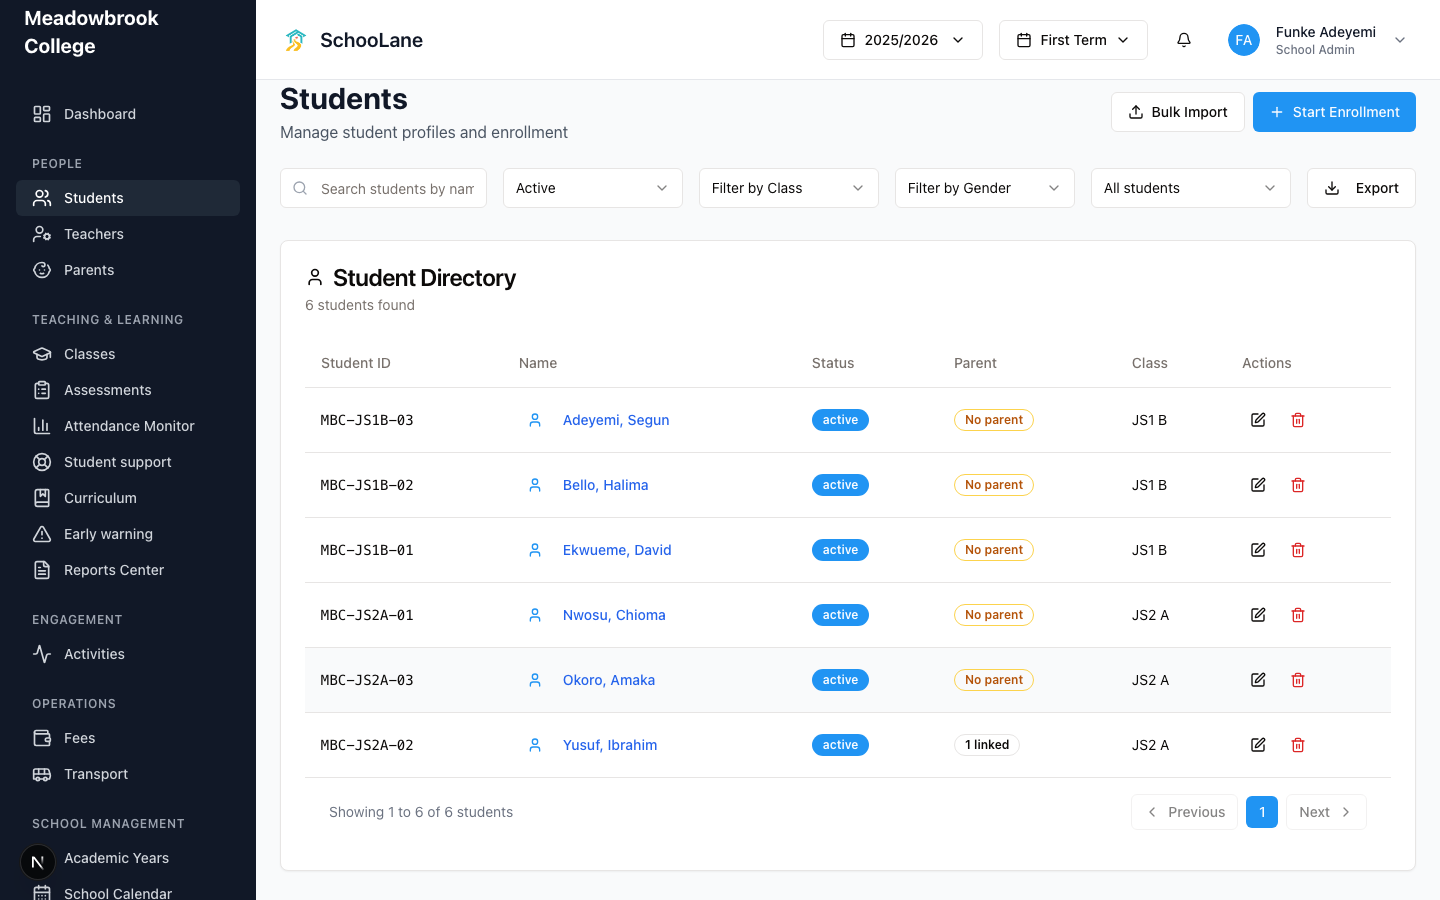
Open Students. Press Start Enrollment for one child. Press Bulk Import if you have a CSV.
Then open Parents and link each guardian to the right children. Do the children first. A parent with nobody to attach to is just a name in a list.
6. Ask a teacher to try
Get one teacher to sign in. They should see My Classes and Assessments. Activities should be there too. On the staff app they should see Home and Classes. Activity is the parent-feed tab.
If their dashboard is empty, you still owe them a class. Go back to Add Class.
What done looks like
Academic Years shows one year with the green Active badge. Classes has at least one row with a teacher. Students has the first names. A teacher can open My Classes and see people, not a blank warning.
Common mistakes
- Building classes before the year is active. Activate first.
- Leaving class codes blank. Import needs them.
- Enrolling students before you have a class teacher. Add Class asks for one.
- Saving reports with no signature in School Settings. The printed line will look unfinished.