Classes
A class is a grade-level group in one academic year, with a class teacher and a roster.
What you need first
- An active academic year
- At least one teacher
- Grade levels for the school
Steps
1. Open Classes
In Teaching & learning, press Classes. The heading is Classes. You manage class information and assignments from here.
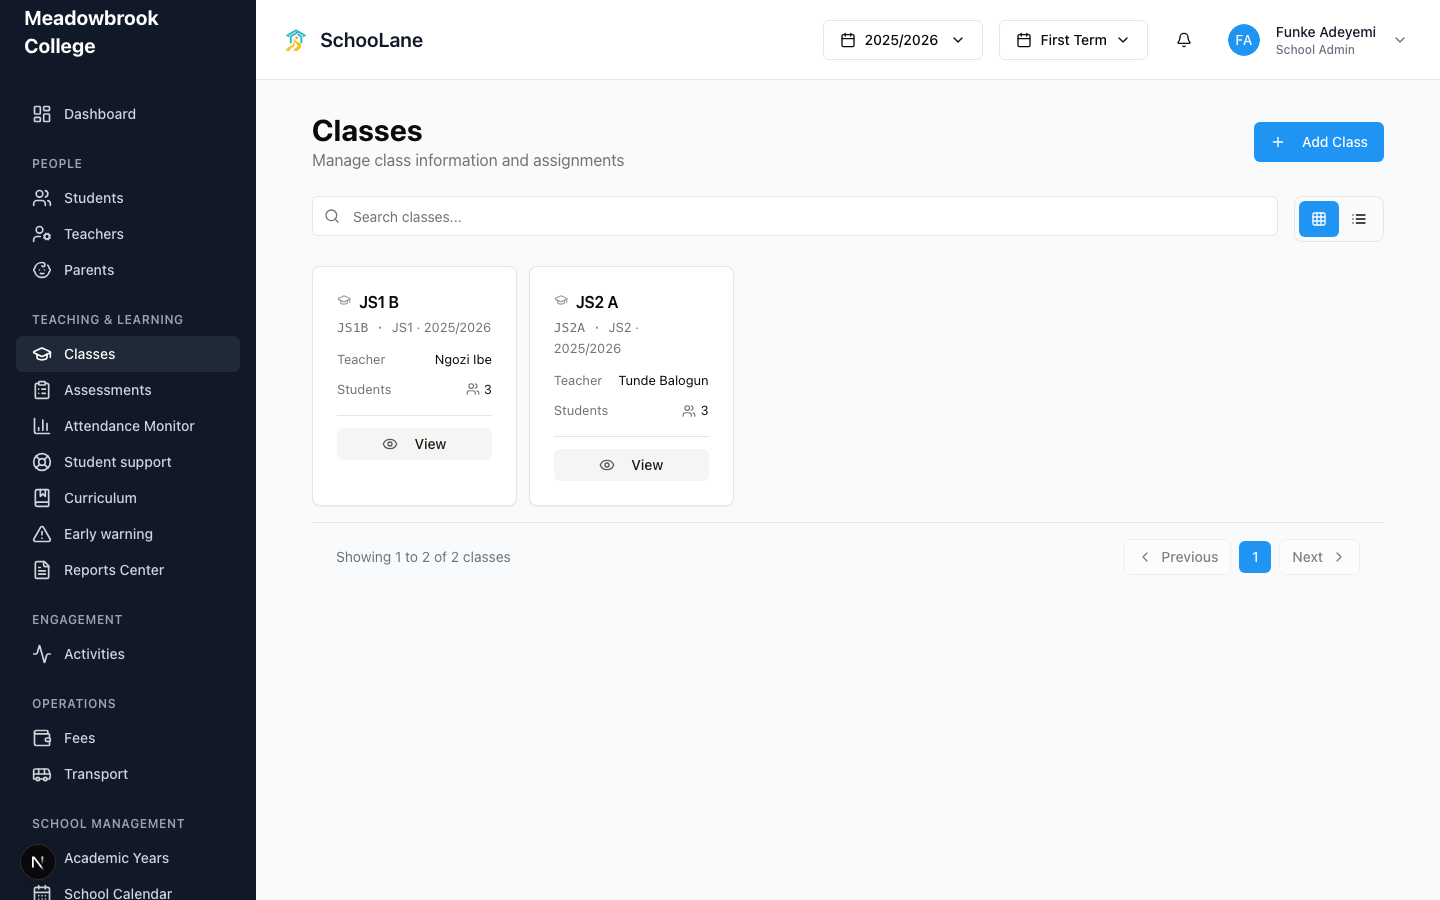
2. Add a class
Press Add Class. You need all of this:
- Class name (the demo school uses
JS1 BandJS2 A) - Class code (required, because bulk import matches on this)
- Academic year
- Grade level
- Class teacher
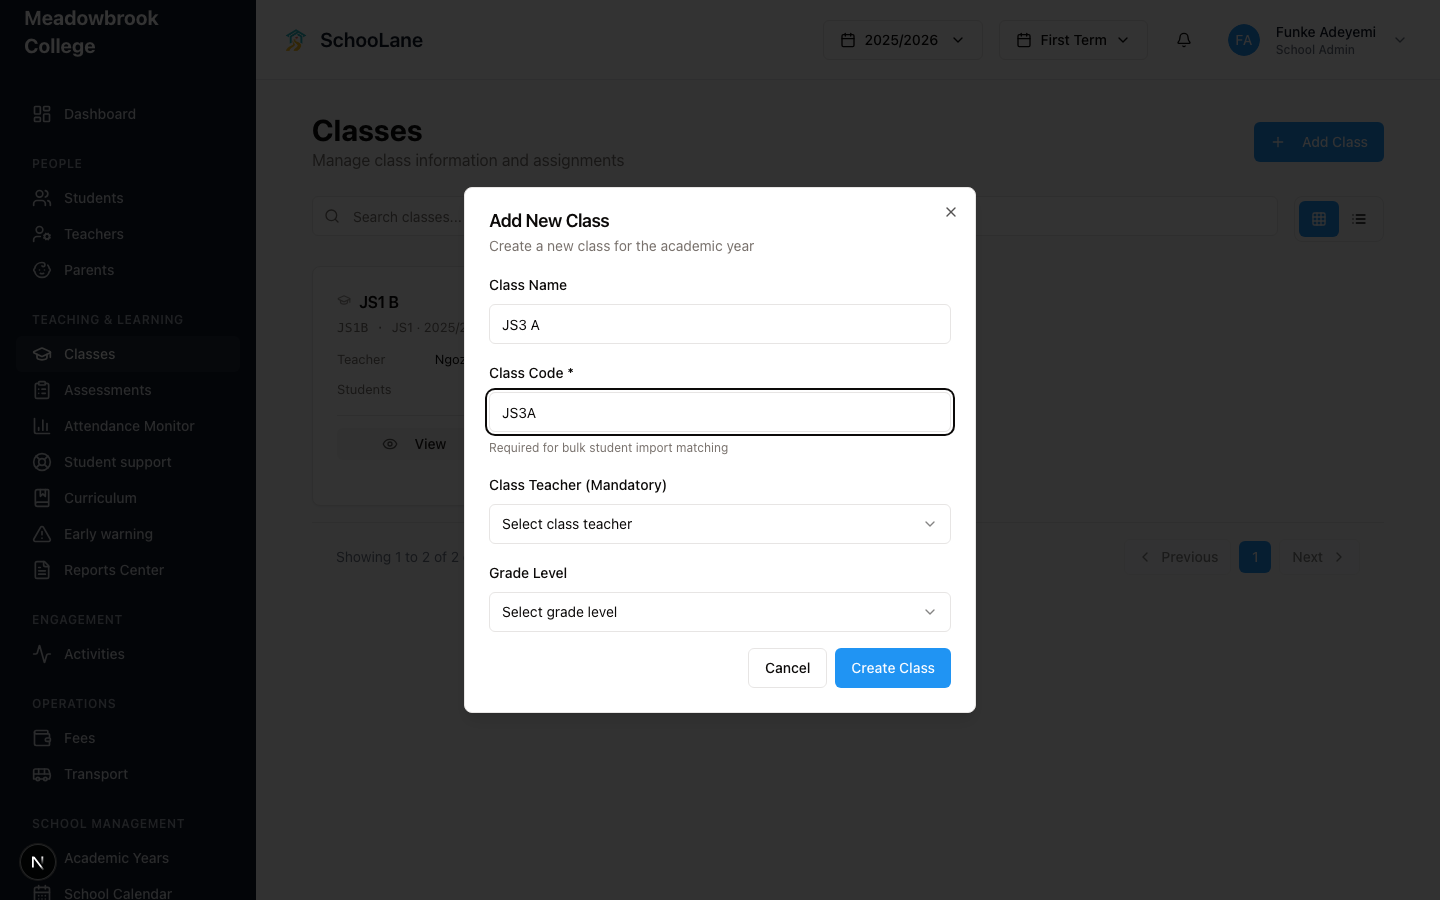

Skip a field and the form will stop you. The code is the one people forget, then wonder why a student CSV will not land in the class.
3. Open the class
Press the class to see the roster and subjects. Attendance and promotion live here too. Assign subject teachers on this same page.
4. Promote at year end
When the year closes, use the class promotion flow so students move to the next class without losing history.
Teachers
Teachers opening My Classes see only classes assigned to them. They cannot create a school-wide class. If a teacher says the list is empty, they are not on a class yet.
Common mistakes
- Saving a class without a code. Student import needs that code.
- Picking last year's academic year by habit. Check the year on the form.